Table of Content
So this is how we can install Google Assistant on Raspberry Pi and can turn it into a Google Home by connecting a Speaker and microphone to it. Whenever you want to launch Google assistant, just get in the environment and follow the below steps. Run the following command to install Python3 and the Python 3 Virtual Environment to our RPi. Here you have to activate the following activity controls to ensure that the Google Assistant API work fine. After logging in to your Google account, you will see following window. This GassistPi project can also helps you to automate your house.
Because Google Home connects to webhooks which are on the accessible over the internet. Instead of that headache, we can use dataplicity services to place our raspberry pi on the internet with ease. Replace "raspberry-pi-ip-address" with your Pi's ip address, and don't forget the colon before the path. If you downloaded the JSON file to another location modify your local path to reflect this. Enter your password when prompted, and the file will copy to the Pi's home directory. Switch the christmas lights on” and the Google Home speaker should send the command to ifttt.
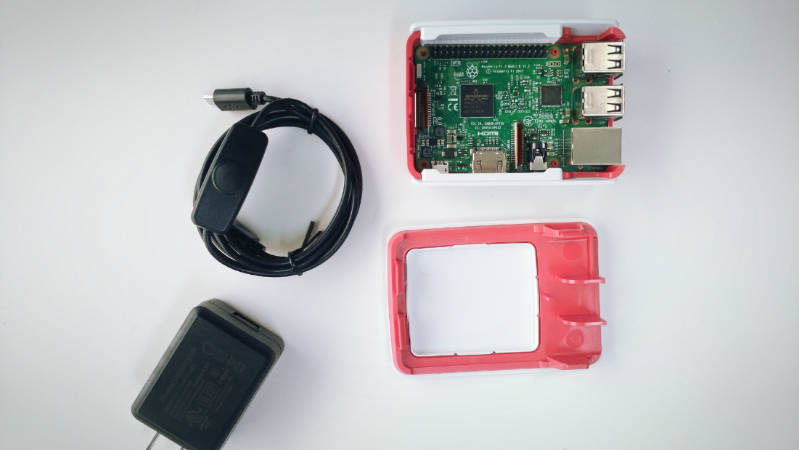
connecting a raspberry pi to a google home
Once everything is done, you will have following screen. You can select any traits that you need, but in our case we don’t need any of these so we just clicked the Skip button as shown below. On next screen, you have to enter the Project Name and click on Create Project. First, we have to register and set up a project on theGoogle Console Actions dashboard .

Use the terminal or the SSH session you set up in this step to enter the commands in the rest of this guide. The working directory for both is/home/pi. The first thing that you need to do is set up the wiring so that you can programmatically flip the switch using our Raspberry Pi. While it’s easy to trigger GPIO ports, they can only emit 5V. In order to close/break a 220V circuit, you need a relay.
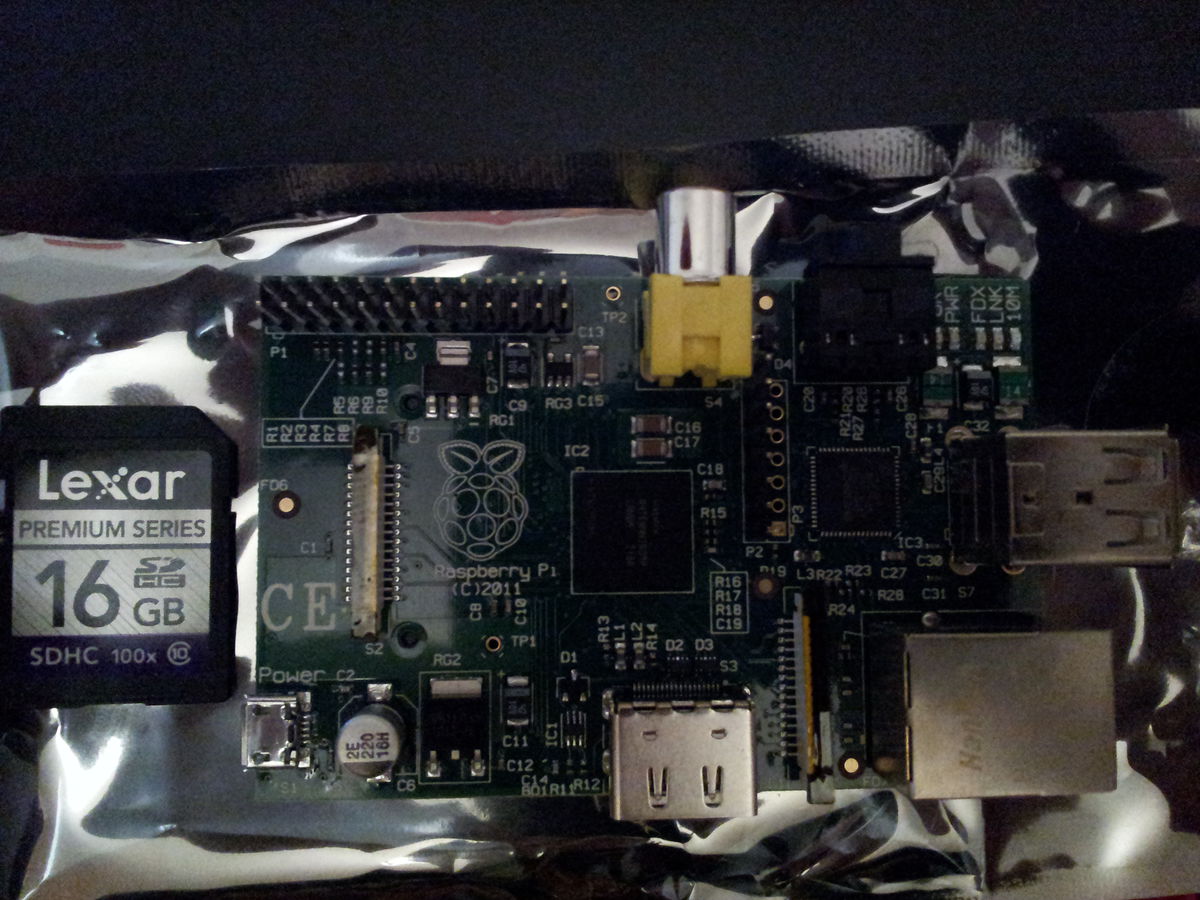
Raspberry Pi And Google Mini
You need to modify this file to set up the built-in microphone on the docking hub. We are using the neat Saramonic Mini Directional Microphone for Smart Phone. My existing IFTTT commands through the maker channel are still working, but they've changed the naming structure since I made this guide. New commands still use the Google Assistant trigger, but the web requests are now handled by the "Webhooks" action. If you don't have a monitor, keyboard, and mouse connected to the device, you can still control the device remotely via SSH.
As usual, I like to hope this has been useful but don’t really want anyone to follow it to the letter. I don’t mind if anyone does, but I’d rather provide a bit of inspiration people to create something of their own. Sudo apt-get install mini-httpd sudo nano /etc/default/mini-httpd Now set set the START parameter in there to 1.
Step 12:
You've got quite a journey ahead of you to get this project working, but don't get discouraged! There's a lot you'll know on the other side of this project that will be useful in future projects you want to take on. So, to make this guide as user-friendly as possible, I'm going to include some links that you power-users might find excessive. Moreover you need to activate the OAuth server only once for account linking & than you can close it.
However the Flask server can only be accessed locally. Though you can control your switch locally, you can’t do it outside your LAN. Follow this guide to get your Pi running and then enable SSH. Add the response which we need to hear after saying the command to Google Home. If needed set this intent as the end of the conversation. These are the commands that users speak when they try to access a specific task from Google Home.
Tools and Resources for Christmas Gift Ideas
Go to the Dataplicity website and create your account and follow the instructions to add the raspberry pi to the dashboard. Now the GPIO pin is set to output and initializes in a low state. You can run your modified script passing your model-id number as an argument. Both ways begin in the terminal, to check the sound settings. Use the commands arecord -l and aplay -l to list available devices.
Open the Pi's browser, alternatively, if you are connected via SSH open a browser locally. Navigate to the Google Action Console and click New Project. This tutorial can be followed directly on the Pi or via an SSH connection into the Pi. Raspberry Pi with a fresh Raspbian install on the SD card. The first step was to look at the google Home API. The second step was to say “That looks like hard work.” and ignore it. First, make the Pi Bluetooth to auto connect the speaker .
A relay is an electromagnetic switch operated by a relatively small electric current that can turn on or off a much larger electric current. This is why you’ll hear a clicking sound when the relay is triggered. You'll be prompted to enable the device on your Google account. Copy the authorization code which follows, and paste it back into your terminal window. The way I opted for in the end was to use If This Then That. For anyone who’s not heard of it, it’s a web site that allows you to setup little jobs that get triggered by things.
You can use a google account to sign into ifttt which is good as it makes life much simpler. You need a google account for the Google Home Speaker anyway. Before you install the Google Assistant software, you need to configure a developer project and account settings. Click this link and follow the steps there. After the Bluetooth speaker is connected, the .asoundrc file will be generated with the Bluetooth speaker info in it.
If you have USB 2.0 microphone then steps followed are same to check the microphone. Here we have used Webcam for USB microcphone. I got the server to say that its listening to port xxxx but when I try to use it in the browser it says connection refused. So, there are lots of guides on getting started with relays on the Rasberry Pi. I mostly used Youtube tutorials like this one to get started.
This lets you break the circuit with the switch when the relay circuit is closed. Alternatively, if you don’t have a keyboard, mouse and a display, check out this headless setup. You’re snug and warm in your bed, and are about to happily doze off when you realize- you’ve forgotten to turn your lights off. Don’t worry though- it’s possible for you to do so without climbing out of those soft sheets. Here’s how you can set up your room to be infinitely cooler. Now we will set up our back-end service to get those queries to open videos and websites on our raspberry pi.
There are probably other ways to do this, but this way is fairly easy. Now press Enter in the terminal window to trigger it and ask any question. After the opening of browser, go to the previous terminal window in which you have setup the Google assistant sample. After saving the credentials file, we will start installing some of the dependencies required to run the Google assistant. Next screen will be for Download Credentials.
This lets you make a HTTP request to an endpoint when the trigger is activated. Remember that we should only listen at port 80 as dataplicity can forward only port 80 of the raspberry pi. From, the drop-down menu, select ‘@sys.any’ and press enter. Here, the reply can either be a simple conversation or else data retrieved from a webhook, which we are going to make using Rpi server. So, go to Dialogflow website and create an account and a new agent.


No comments:
Post a Comment